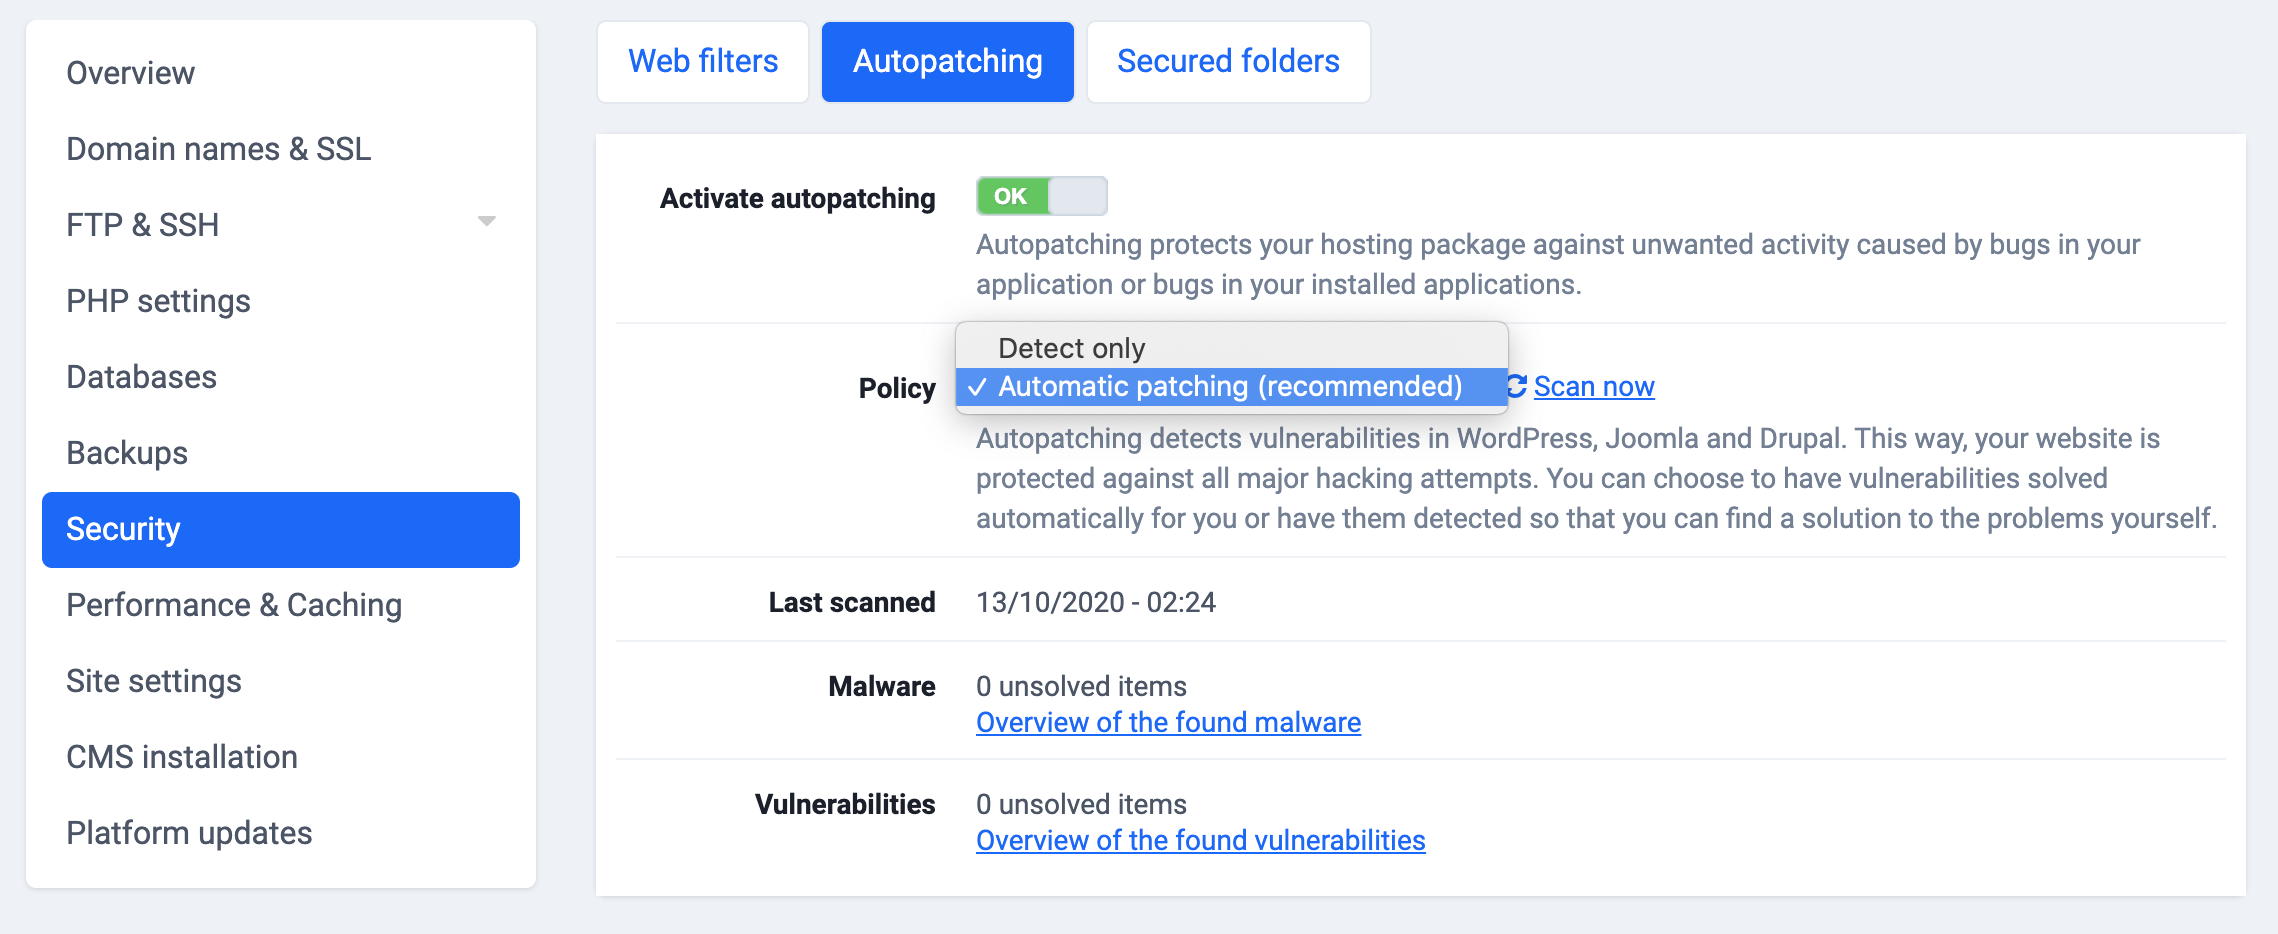
Autopatching is a malware scanner which patches detected vulnerabilities from suspicious files. It removes the vulnerabilities of your files, but not the threats themselves.
Have in mind autopatching works best with popular open source websites and content management systems.
To enable autopatching, follow these steps in the control panel:
- Go to “My products”> “Web hosting”> Click “Manage hosting” to the right of your domain name.
- In the menu on the left you choose “Security”.
- Click on the tab ‘Autopatching’ on the top to proceed.
- Click on the slide button to enable the feature.
- Wait until activation of autopatching is completed.It could take up to 15 minutes.
- When activation is completed, check the found vulnerabilities.
- Select ‘Automatic patching’ if you want all vulnerabilities to be patched at once. Or you can automatically patch the vulnerabilities one by one by clicking on the ‘Patch’ buttons on the right.
